Introduction to Photeeq lens flare
Photeeq lens flare is not just another effect—it’s a powerful creative tool to elevate your images with dramatic lighting. In this article, you’ll discover how to harness Photeeq lens flare to bring cinematic sparkle or soft glows to your photography. Whether you’re a hobbyist or professional, you’ll find techniques, practical steps, and artistic guidance to make your visuals pop (without distracting). Let’s dive deep into the world of Photeeq lens flare.
What is lens flare in photography and editing
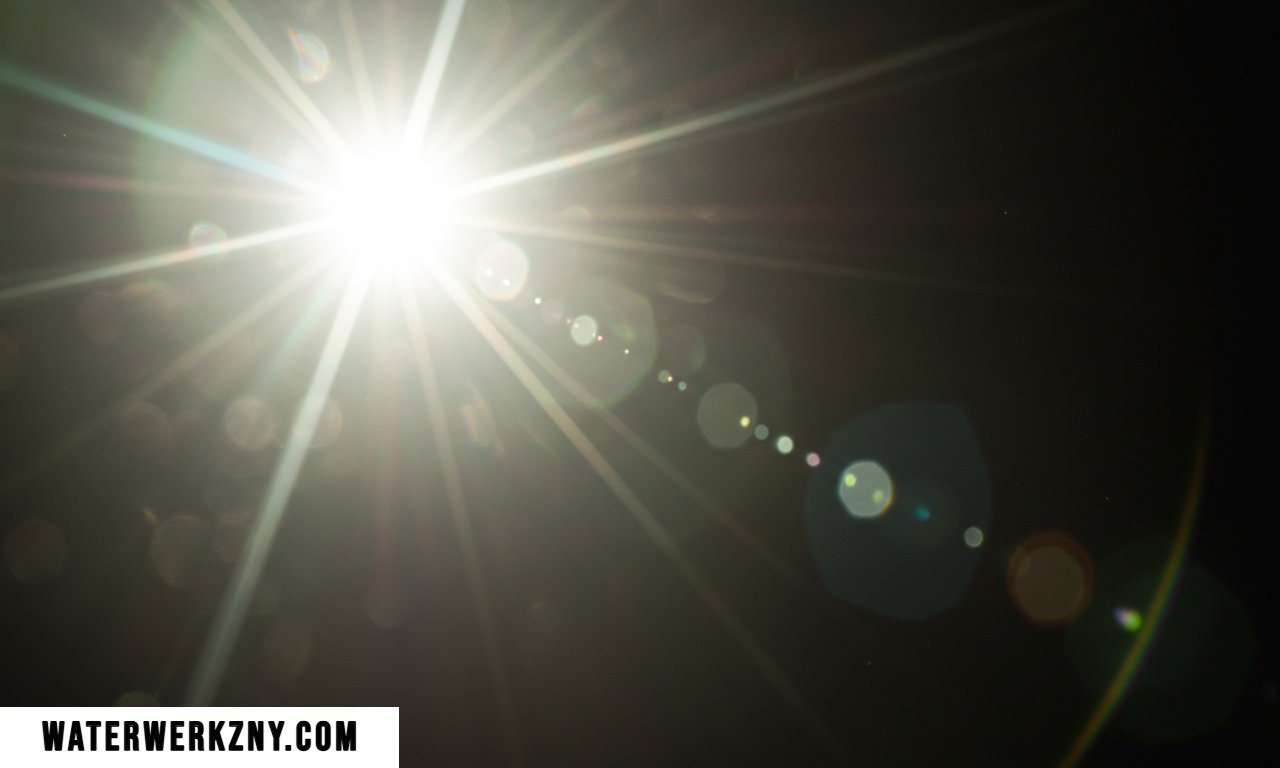
Lens flare originates when a bright light—often the sun or intense artificial light—enters the camera lens at a certain angle, scattering and reflecting internally across lens elements. This causes streaks, rings, ghosts, or haze in your image. In digital editing, we mimic that effect to add mood, drama, or realism.
There are different types of lens flare: classic ghosting, streaks, ring flares, and haze or fog-like diffusion. Each type has a visual personality. When used carefully, flare can draw the viewer’s eye, suggest brightness, or elevate atmosphere. But overuse or poor matching can wreck an image with distraction.
In software editing, one simulates lens flare by layering shapes, gradients, glow effects, and blending modes. Photeeq offers specialized tools to do exactly this, with more control over realism and aesthetics than generic overlays.
Why choose Photeeq for lens flare effects
Not all flare tools are created equal. Photeeq lens flare stands out for several reasons:
- Precision control: You can adjust position, color gradients, intensity, and falloff with fine sliders.
- Smart blending modes: It offers blending modes tailored for light, avoiding harsh transitions.
- Realistic optical simulations: Photeeq includes presets based on real lens designs, helping your flares feel natural.
- Flexibility: You can combine multiple flares, animate them, or mask them selectively.
- Performance optimization: It’s built to preview fast and render efficiently on modern hardware.
Because of these advantages, Photeeq lens flare becomes not just a gimmick, but a nuanced design element in your visual toolkit.
You May Also Like: Carmenton xyz
Installing and getting started with Photeeq
To begin, ensure your system meets the minimum requirements: a modern CPU, GPU support for effects, and a compatible host (Photoshop, Lightroom plugin, or standalone Photeeq). Install the plugin or standalone version, activate via license, and update to the latest version.
After installation, open Photeeq within your photo editor or standalone. It will prompt for preferences—color space, GPU usage, default flare presets. Once setup, you’ll land in a main project window with panels for layers, effects, and controls. Before diving into flare, open or import your base image to serve as the canvas.
Interface overview: Where to find lens flare tools
Photeeq’s UI is organized into functional zones:
- Canvas / preview area: where you see the overlay of flare on your image.
- Effect panel: contains sections for lens flare, glare, halo, ghost elements.
- Layer stack: manage multiple flare layers with visibility and blending controls.
- Parameters / sliders: controls for intensity, hue, saturation, size, falloff, angle, opacity.
- Masking & selection area: define regions where flare should or shouldn’t appear.
- Animation / keyframe timeline (if video mode).
You’ll often toggle between the effect panel and preview to tweak values and see changes in real time.
Basic Photeeq lens flare tutorial
Let’s try a simple step-by-step:
- Import your base image in Photeeq.
- Select “Add Flare” or “Lens Flare” in effect panel.
- A default flare appears at center. Drag it to align with your light source (like the sun).
- Use the intensity slider to reduce brightness until it blends naturally.
- Adjust size or radius to fit scale—too large will overwhelm, too small might appear fake.
- Tweak color hue and saturation to match ambient tones (warm, neutral, cool).
- If needed, apply a mask so flare affects only sky or upper area, not foreground subjects.
- Preview in full resolution and fine-tune.
- Export or render the image.
It’s quite simple—and Photeeq’s real-time preview helps you avoid guesswork.
Adjusting intensity and brightness
One key to realistic flare is restraint. Too much intensity flattens contrast or “blows out” your image. Use these guidelines:
- Start with lower intensity and increase gradually.
- Observe histogram peaks—if flare push blacks or whites off-scale, dial it back.
- Use falloff or gradient controls so brightness fades smoothly around edges.
- Use layering: a soft base flare + a sharper highlight element, both with moderate strengths, instead of one overpowering effect.
Also, if your image already has strong highlights, the added flare should not compete—instead, it should integrate subtly.
Color control and tone matching
A flare that “belongs” in the scene reflects the overall color palette. To do this:
- Sample ambient or dominant hues in your image (e.g. warm golden sunset, cool blue twilight).
- Shift flare hue slider toward that sampled color.
- Use saturation control: heavy flare color may look artificial.
- Use blend modes like color dodge or screen with moderated opacity to let flare influence color rather than overpower it.
- For multiple flares, vary hue slightly for realism (inner flare warm, outer ghost cooler, etc.).
This harmony makes the effect feel natural rather than pasted.
Lens flare types you can simulate
Photeeq supports various flare styles:
- Sunburst / radial streak: rays extending outward.
- Ring / halo rings: circle or partial ring around light source.
- Ghost flares: small shapes (disks, hexagons, polygons) trailing away.
- Glare / bloom haze: soft glow and veiling light.
- Streak line: a linear streak, often horizontal or vertical.
Each has parameters controlling geometry, count, spacing, intensity, and rotation. You often mix them (one sunburst + small ghosts) for richness.
Combining multiple flares
To elevate complexity, you can layer flares:
- Start with a base haze or glow.
- Add a sunburst next.
- Add ghost disks or rings above.
- Use different blend modes: screen, linear dodge, additive.
- Vary opacity so no single element dominates.
- Use masks so certain flares appear only in parts of the scene (e.g. behind clouds, through branches).
Stacking like this emulates how real lenses produce compound artifacts.
Positioning the flare realistically
Flare should originate from or near your light source. Placing flare arbitrarily can look fake. Key tips:
- Align flare vector with the direction of light (sun, lamp).
- Keep flare within plausible radial path: often directly opposite the light source through frame center line.
- Avoid placing flare directly on subjects’ faces unless intentional gem effects.
- For off-frame light sources, place flare just outside frame edge but with glow creeping in.
- Mind vanishing lines and perspective to maintain coherence with scene.
Using masks and selections to limit flare
You rarely want flare to appear everywhere. Use masks:
- Add a mask paint layer and brush out flare on subject edges.
- Use gradient masks for smooth transitions (flare fades into sky, not lines).
- Use layer masks so you can nondestructively adjust.
- Combine selection (e.g. “sky area”) and invert so flare only hits sky or bright zones.
- Feather mask edges to avoid hard seams.
Masking ensures flare doesn’t spoil fine detail or distract from your primary subject.
Animating Photeeq lens flare
If you’re working in video or motion graphics:
- Use the timeline or keyframes to vary flare position, intensity, color over time.
- Motion path: let the flare slide across the lens as light source moves.
- Flicker subtle brightness changes to mimic breathing light or lens shutter effect.
- Match frame rate and compensate for motion blur.
- Export as video or sequence and composite in your video editor.
Animation adds life beyond static sparkle.
Handling highlights and overexposure
One danger with flare is overexposure or clipped highlights:
- Monitor histogram; avoid pushing highlights into unusable white.
- Use high bit depth (16- or 32-bit) for more headroom.
- Use highlight protectors: Photeeq may offer clipping threshold settings.
- Dial down opacity in bright zones of the image.
- Consider blending flare only into midtones and highlights, preserving shadows untouched.
Smart handling keeps detail and tone intact.
Integrating flare with HDR or bracketed images
If your base image is HDR or tone-mapped:
- Apply flare after tone mapping, so effect adapts to final contrast.
- Use the HDR version’s extended range to safely add brightness without clipping.
- Flare tools that support float images help preserve detail.
- Use masks keyed to brightness ranges to confine flare to brightest areas.
- In bracketed stacking, align and merge before applying flare; avoid adding flare to each bracket.
That way, flare and high contrast work in harmony.
Using Photeeq lens flare with portraits
With human subjects, subtlety is crucial:
- Place flare mostly behind or to the side, not directly on a face (unless stylistic).
- Lower intensity and match skin tone reflections gently.
- Let flare rim lighting highlight hair or shoulders delicately.
- Avoid flare spilling into eyes or over skin texture.
- Use mask boundaries carefully so flare doesn’t wash out facial detail.
When done well, it adds beauty and drama without being overbearing.
Landscape and architectural uses
Landscapes and architecture benefit greatly:
- Place flare on the horizon line where the sun is rising or setting.
- Use radial streaks to suggest early morning or golden hour glow.
- In cityscapes, align flares with streetlights or windows.
- Use ghost flares behind glass surfaces, reflections, or water for complexity.
- Mind perspective lines: flares should not contradict geometry of buildings.
These uses enhance visual storytelling—sunrises, sunsets, moody scenes.
Abstract, cinematic, and sci-fi effects
Photeeq lens flare is fantastic for stylized aesthetics:
- Use oversaturated flares in neon sci-fi scenes (futuristic cityscapes).
- Create cinematic streaks, horizontal flares across the frame (ala lens-flare bars).
- Combine multiple colored ghost elements for abstract compositions.
- Add motion blur or radial blur to flare for speed trails or warp effects.
- Use heavy bloom and haze for dreamy or surreal renders.
Let your creativity run: Photeeq supports playful experimentation.
Troubleshooting common flare problems
Here are common pitfalls and solutions:
- Unnatural halo edges: Feather masks, reduce hardness.
- Color shifts / tinting skin: Match hue, reduce saturation.
- Loss of contrast: Lower base brightness, adjust midtones.
- Flare clipping whites: Lower intensity, reduce exposure in that region.
- Flares overlapping harshly: Stagger layers, reduce opacity.
- Unexpected ghost shapes: Check lens preset settings or disable unwanted ghost elements.
When in doubt, undo and start subtler.
Optimizing performance and render speed
To keep workflow smooth:
- Use draft or low-res preview mode when tweaking.
- Limit the number of flare layers during editing.
- Turn off GPU effects you’re not using.
- Close unused panels or windows.
- Use caching and proxy modes if available.
- For final render, perform full resolution pass only.
This ensures you’re not waiting too long mid-edit.
Exporting and saving your work
Once satisfied:
- Save your flare layer colors, parameters, masks as templates for reuse.
- Export in high bit depth format (TIFF, PNG, EXR) to preserve quality.
- If sending layered file, include Photeeq project file or merged version plus original.
- For video, export with appropriate codec (e.g. ProRes, H.264) matching timeline.
- Document settings used for future reference or reproducibility.
Doing this keeps your process organized and repeatable.
Comparisons: Photeeq vs other flare plugins
Let’s compare Photeeq lens flare with some alternatives:
- Generic overlay packs: simple but less flexible, static, less realistic.
- Built-in tools (Photoshop, Lightroom): limited control, fewer optical presets.
- Other advanced plugins: might have good effects, but often heavier on system or less intuitive.
Photeeq shines where you want both creative flair and precise control, without losing speed or realism.
Case studies / before & after examples
Here’s how others have used Photeeq lens flare:
- A travel photographer added a sunset burst to accentuate golden hour on mountain peaks.
- Portrait artist used subtle rim flares behind hair for ethereal look.
- Cityscape artist added neon ghost flares to a futuristic urban night shot.
- Landscape shooter applied soft glow after HDR merge to unify sky and land.
Before/after comparisons often show how a modest flare amplifies atmosphere without stealing attention. (Images not shown here, but you can test in your portfolio.)
Best practices and artistic guidelines
- Use flare sparingly let it support, not dominate.
- Match color temperature to scene lighting.
- Respect light direction and perspective.
- Mask carefully to preserve detail.
- Preview at 100% to catch clipping or artifacts.
- Save presets and templates for consistency.
- Experiment, but always back up original images.
These guidelines help you stay creative yet controlled.
Future updates and plugin roadmap
Photeeq’s developers often announce upcoming features like:
- More optical lens models (for different brands).
- AI-assisted automatic placement of flare based on light source detection.
- Improved GPU acceleration, real-time full resolution feedback.
- Expanded ghost shape library and 3D positioning.
- Better video integration, tracking light sources in footage.
Keep an eye on release notes and plugin updates—you’ll want new creative tools as they arrive.
Conclusion: mastering Photeeq lens flare
In sum, Photeeq lens flare is a powerful, nuanced effect when wielded skillfully. From basic application to layering, animation, color matching, and masking, you now have the tools and insight to bring flare into your creative workflow. As you practice, you’ll learn restraint, coherence, and artistry. Start small, refine gradually, and soon your images will radiate with light — in a believable, stunning way.
Photeeq lens flare isn’t just a trendy effect — when used with care, it becomes a storytelling tool. Use it to guide eyes, evoke warmth, or dramatize a scene. But never let it overshadow your subject. Mastery comes from balance and experimentation.